Create an agent and give it access
An agent is a machine that acts inside a tenant. It has its own identity and it can do nothing until someone gives it access. In this guide Ann makes report-writer, an agent that writes the weekly orders report.
Open your tenant and choose Agents in the Agents group of the side menu.
1. Create the agent
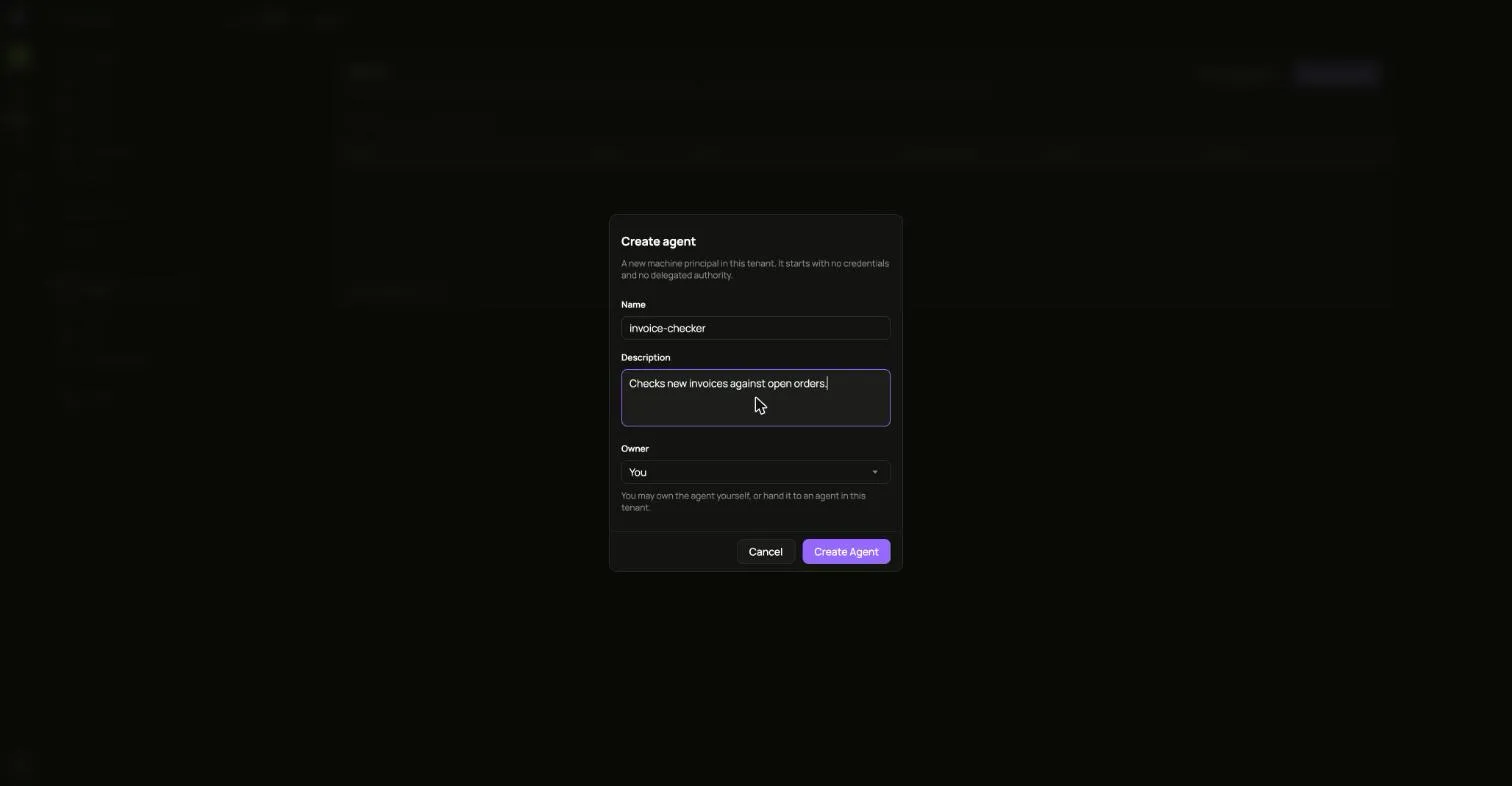
Section titled “1. Create the agent”- Choose Create Agent.
- Fill in Name and Description. Under Owner, keep yourself or pick another agent of this tenant.
- Choose Create Agent.
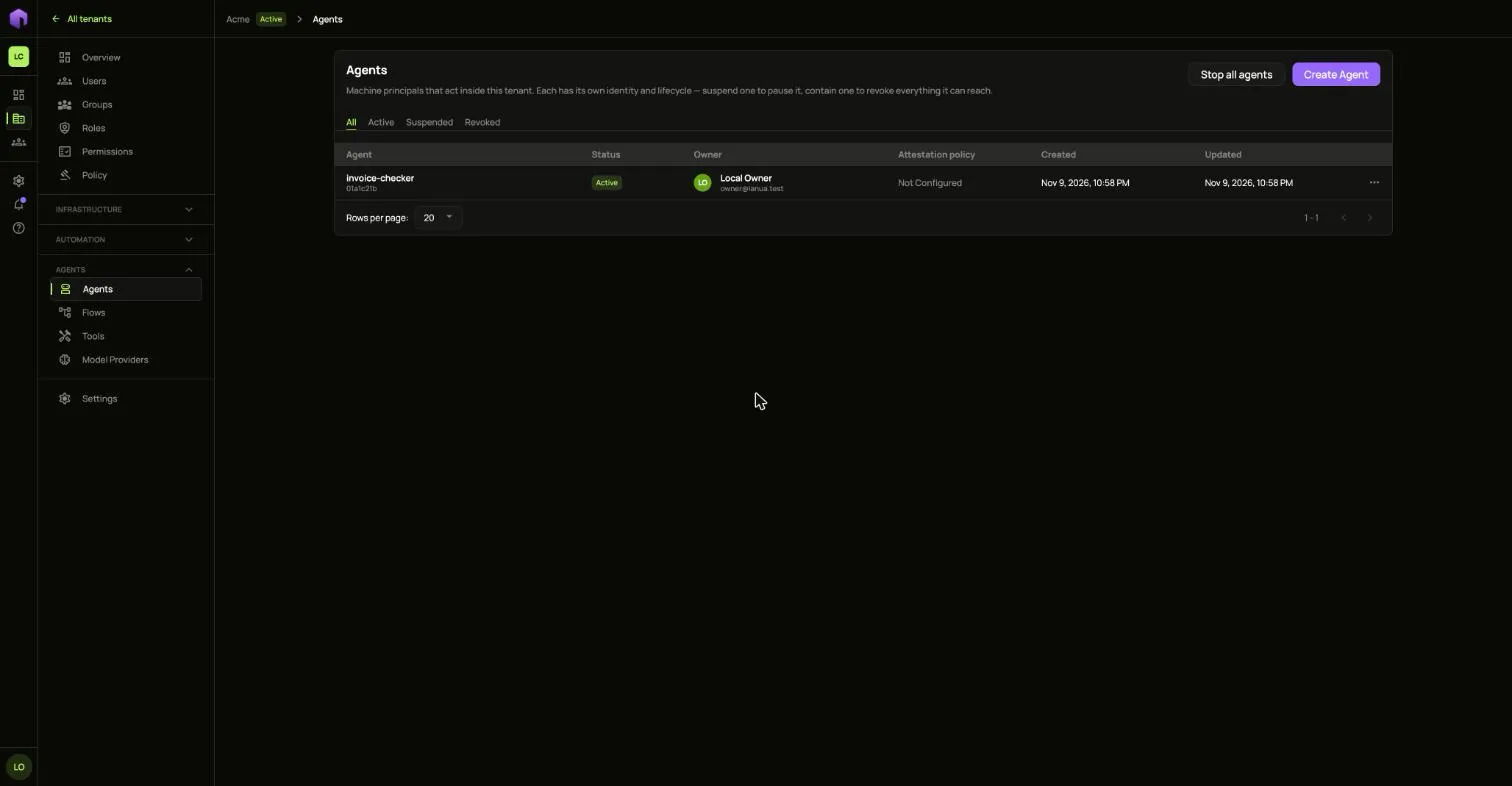
The agent appears in the list as Active. Open it to see its pages: Overview, Access, Approvals, Channels and Activity, and under Operations, Runs and Credentials.
2. Register its key
Section titled “2. Register its key”The agent makes its own key pair and keeps the private half. You only give ianua the public half.
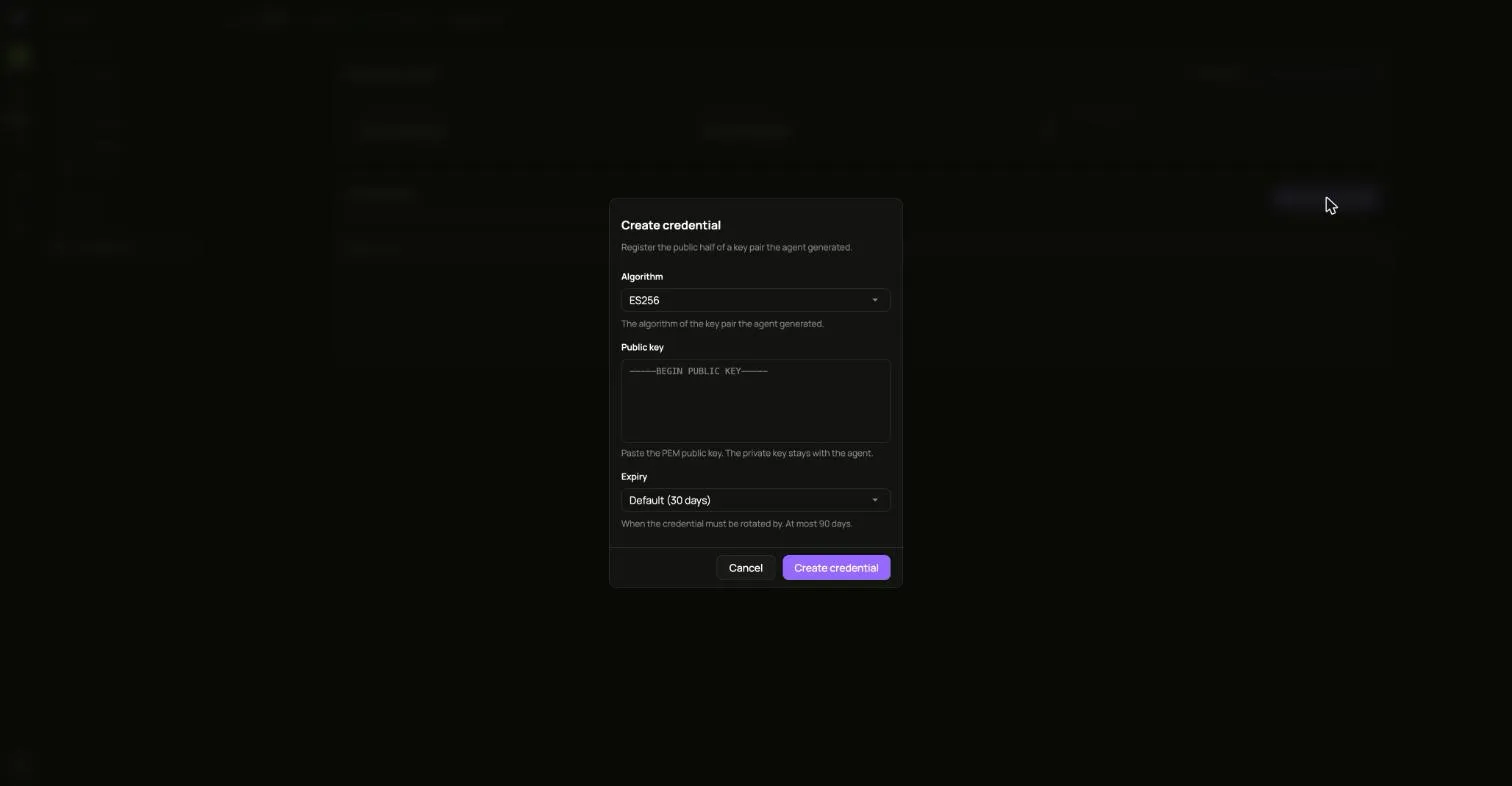
- Open Credentials and choose Create credential.
- Pick the Algorithm of the key pair.
- Paste the Public key. It starts with
-----BEGIN PUBLIC KEY-----. - Pick an Expiry. The default is 30 days and the most is 90.
- Choose Create credential.
An agent with no key cannot be given access: the request is refused until it holds one active key.
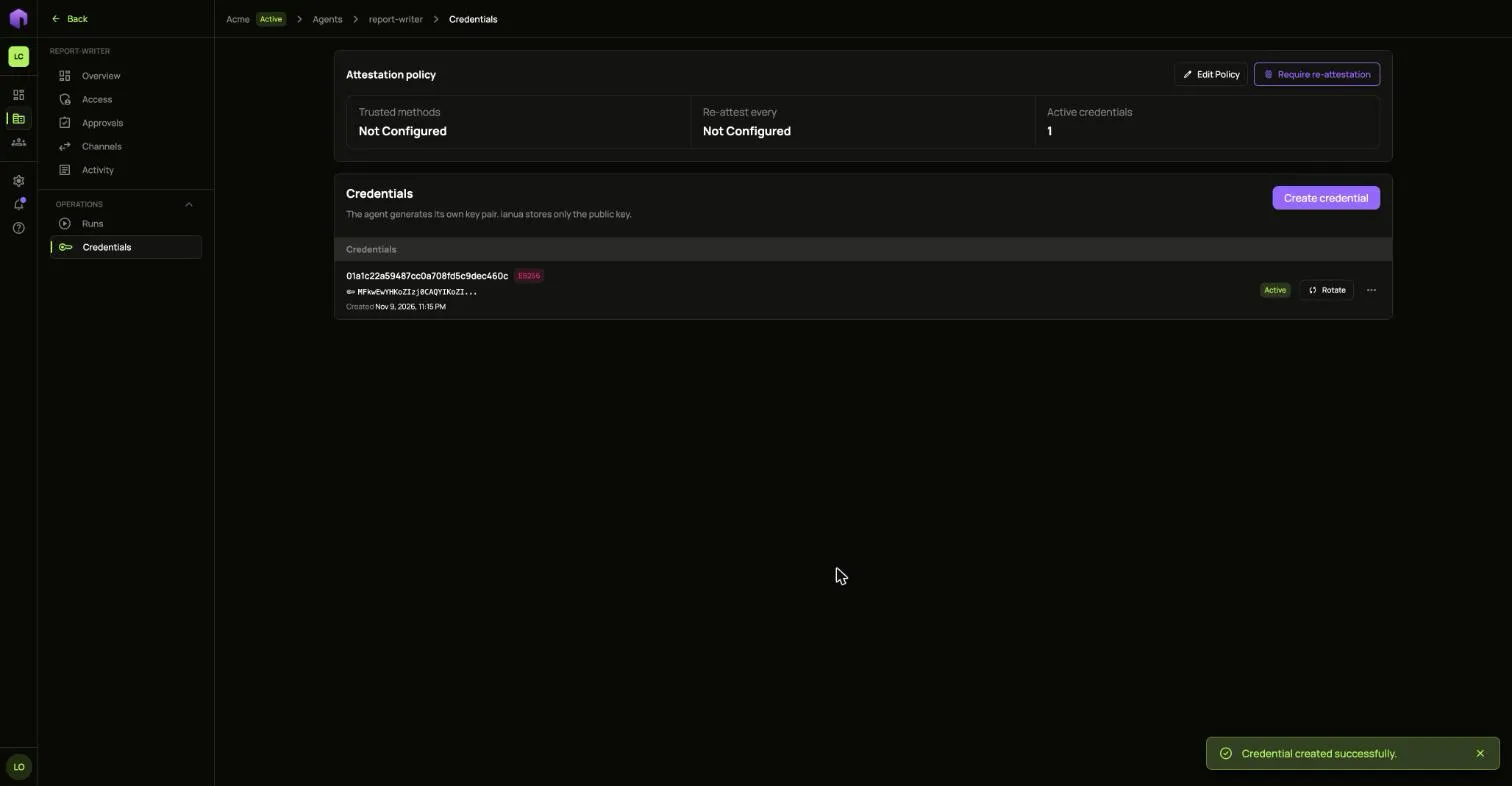
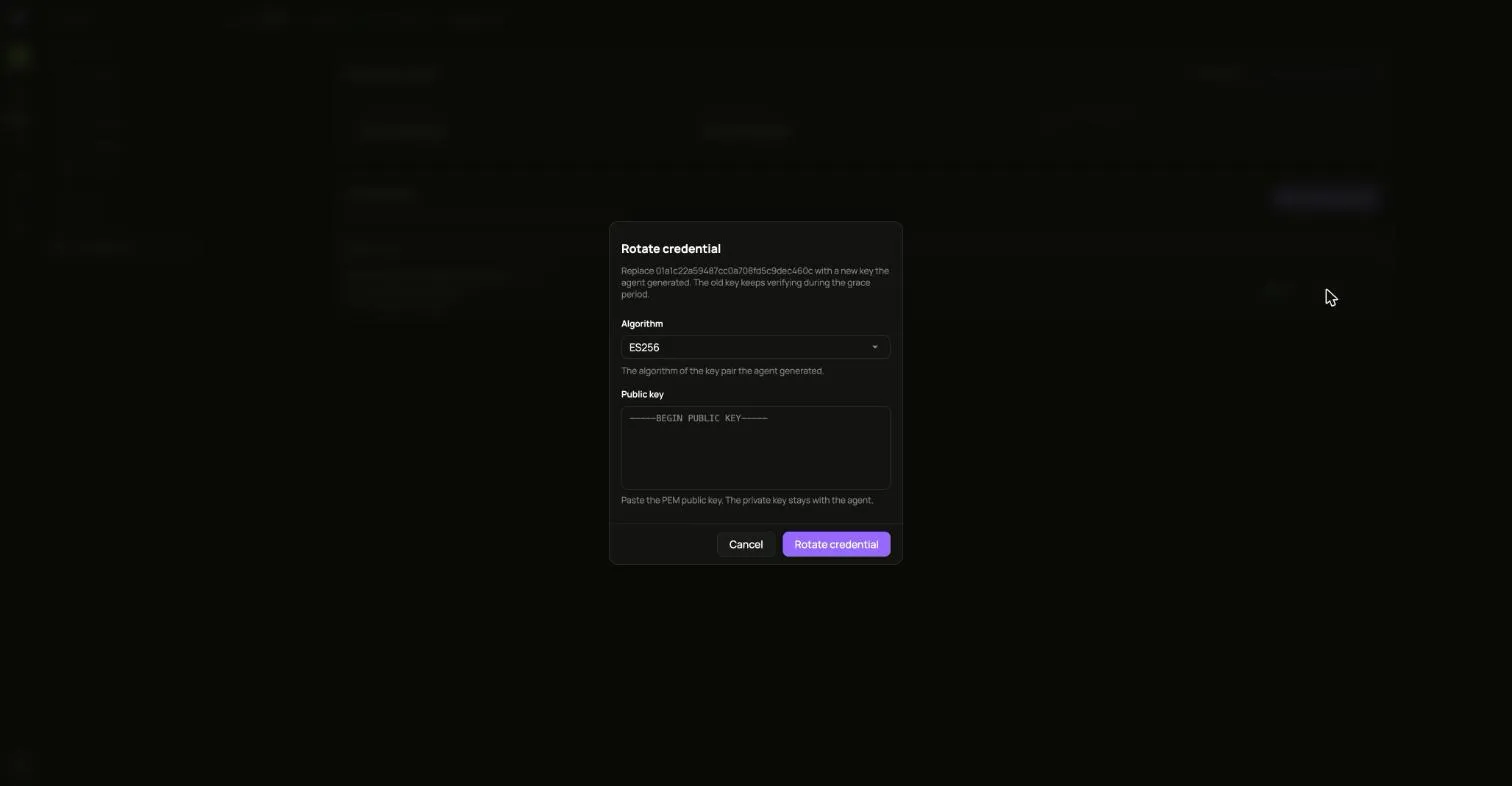
When the key is due to change, choose Rotate on its row and paste the new public key. The old key keeps working during a grace period. To stop a key at once, open its … menu and choose Revoke.
3. Give it access
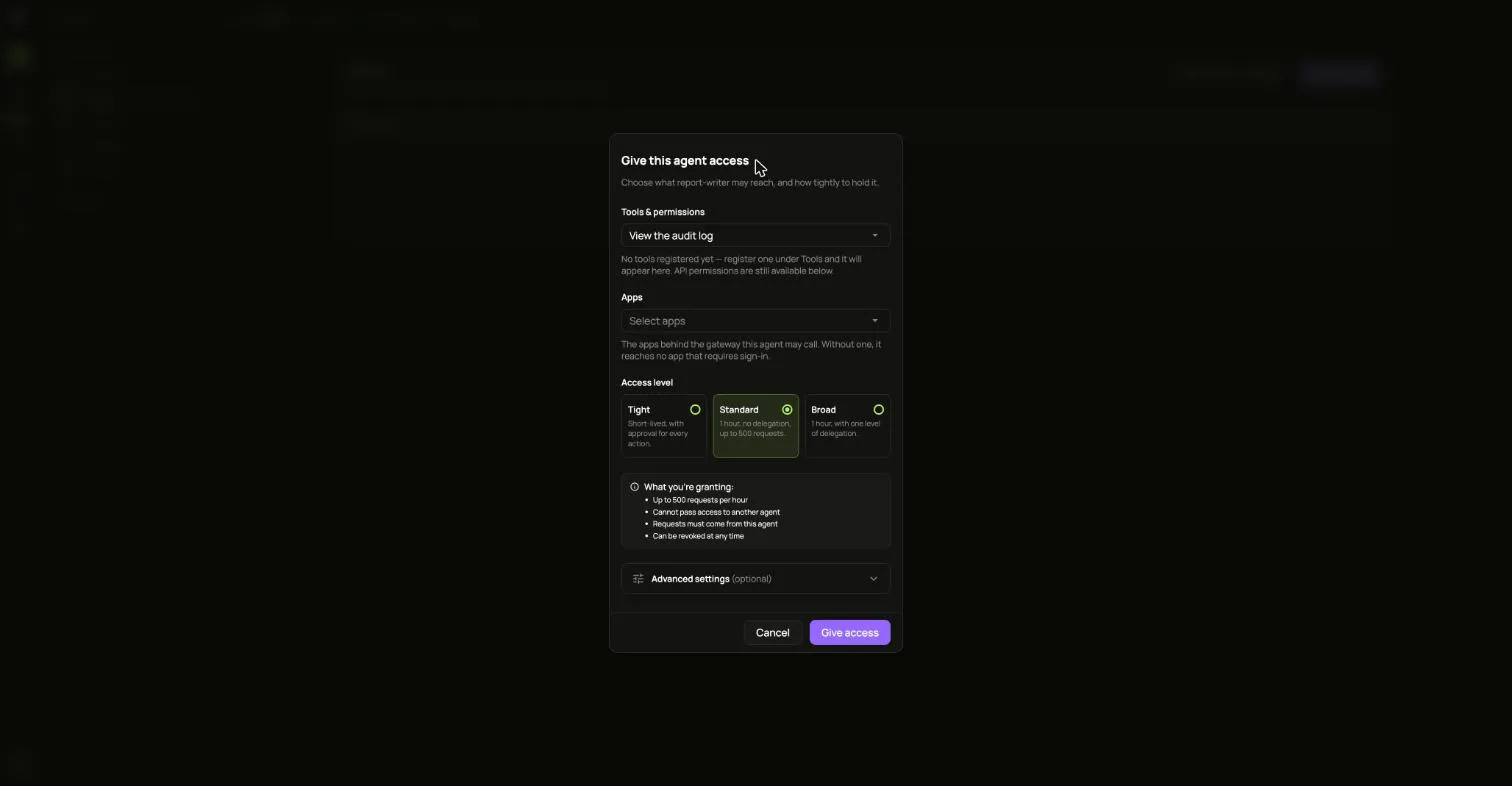
Section titled “3. Give it access”- Open Access and choose Give access.
- Under Tools & permissions, pick what it may do. Under Apps, pick the apps behind the gateway it may call. Without an app it reaches no app that requires sign-in.
- Pick an Access level:
- Tight: short-lived, with approval for every action.
- Standard: 1 hour, no passing on, up to 500 requests.
- Broad: 1 hour, with one level of passing on.
- Read What you’re granting, then choose Give access.
The next window shows the agent’s token. It is shown once, so copy it and hand it to the agent. Granting again makes a different token.
To take access back, open the row’s … menu on the Access page.
4. Test without sending
Section titled “4. Test without sending”Test without sending tells you whether a request would be allowed by the access the agent holds now. Nothing is sent to any app.
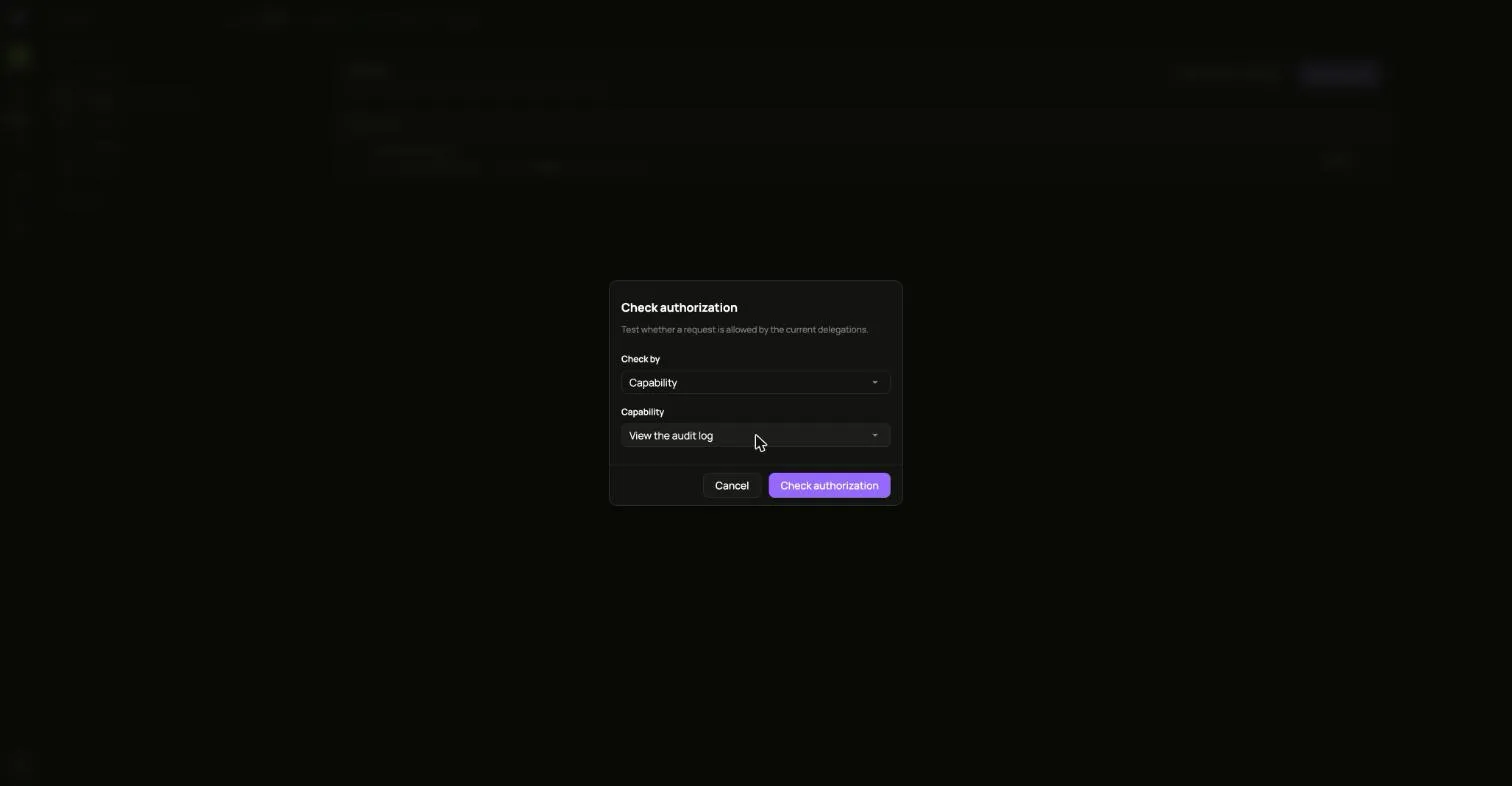
- On Access, choose Test without sending.
- Pick what to check, for example View the audit log.
- Choose Check authorization.
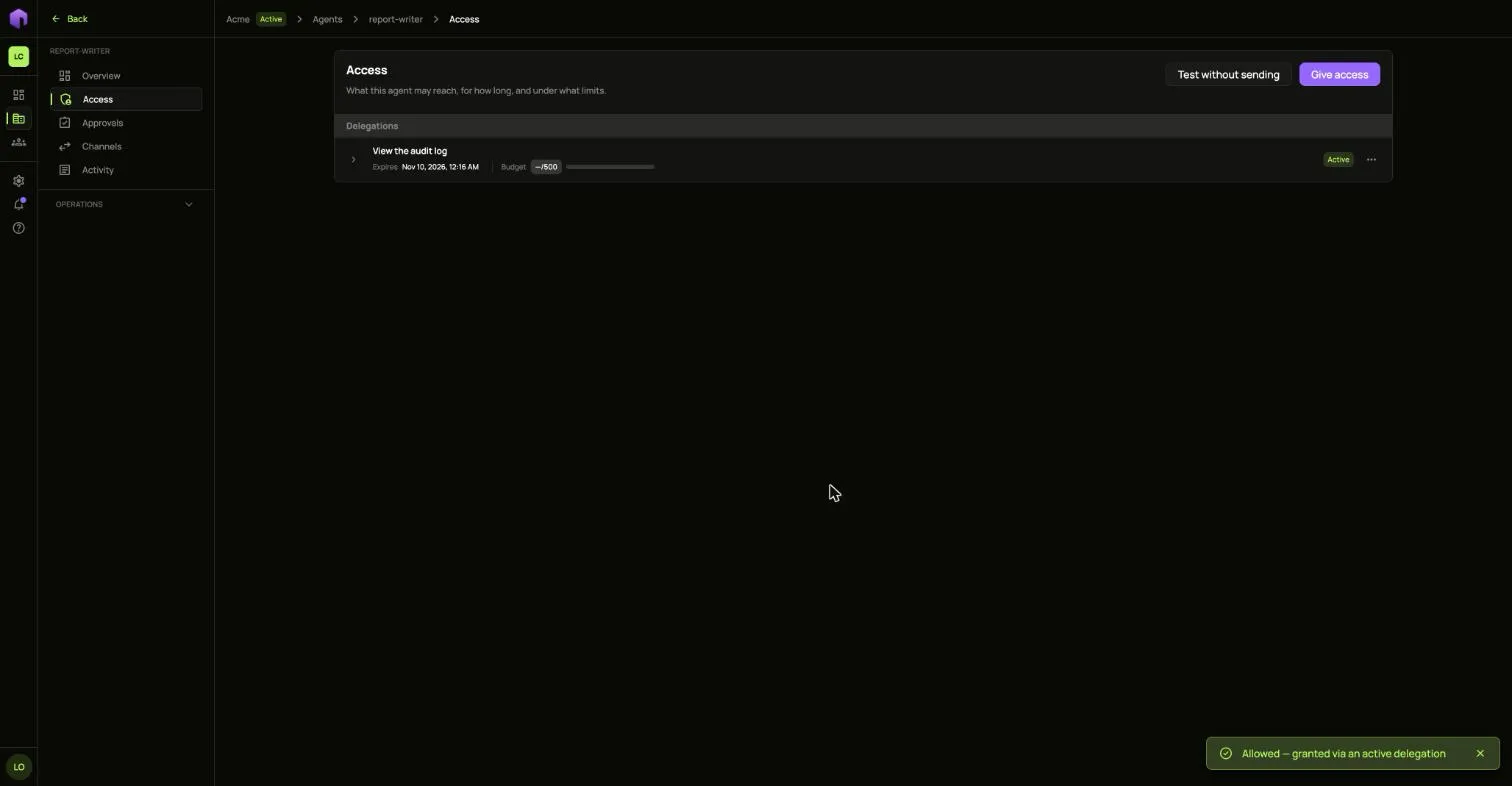
The answer appears at the bottom of the page.
5. Start a run
Section titled “5. Start a run”Runs sends the agent toward a goal and shows its progress step by step. You need a model provider first.
- Open Runs under Operations and choose Start run.
- Write the Goal and pick a Model provider.
- Under Delegation, pick which access this run uses.
- Under Purpose, pick the kinds of action it may perform. It can only perform those.
- Set the Step limit, then choose Start run.
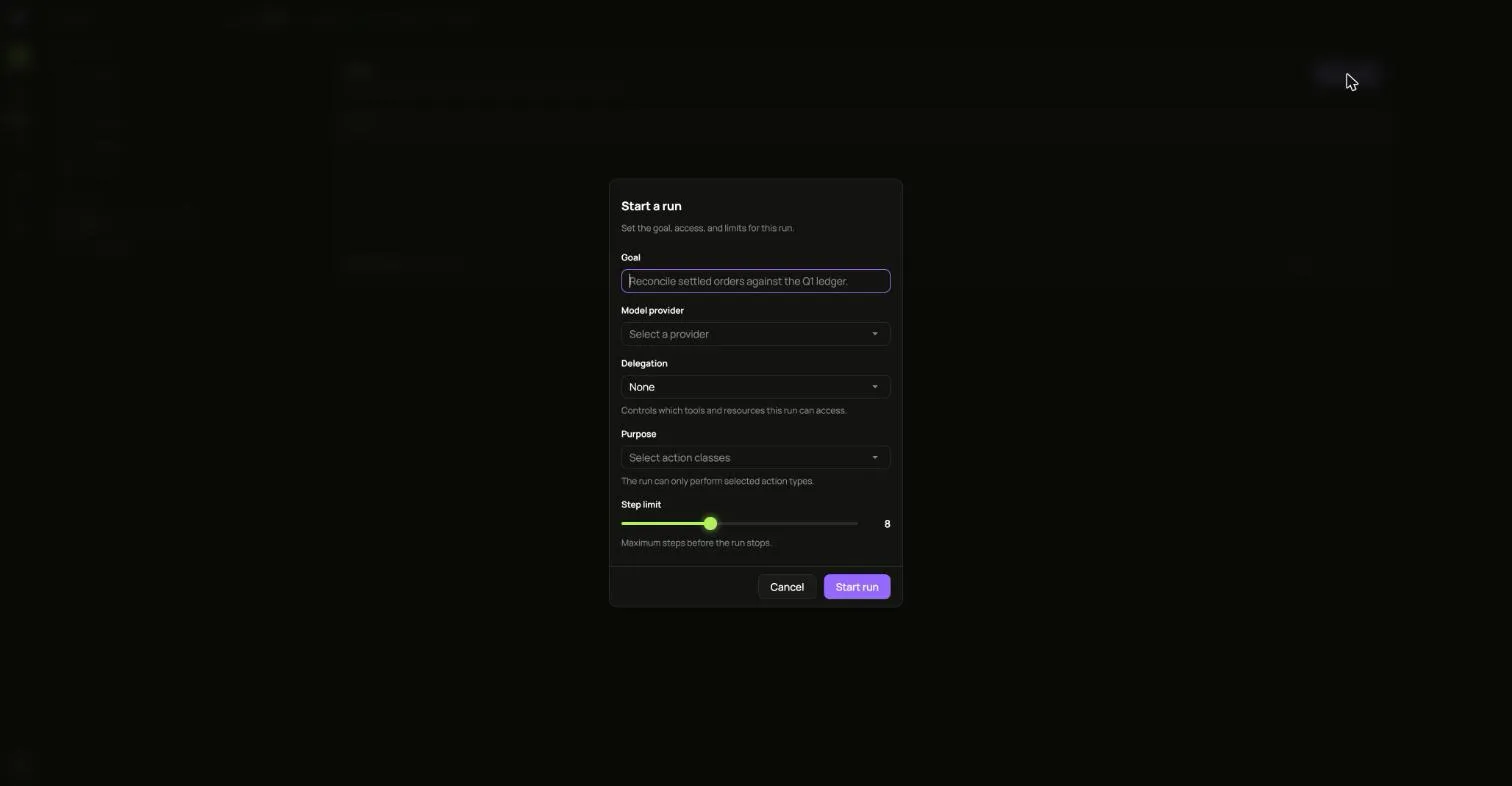
Actions that need a person wait on the Approvals page.
Prove where it runs
Section titled “Prove where it runs”If the agent runs on a platform that can vouch for it, you can ask it to prove that. On Credentials, choose Edit Policy and pick the Trusted method, how often it must prove itself, and the origins it may prove itself from.
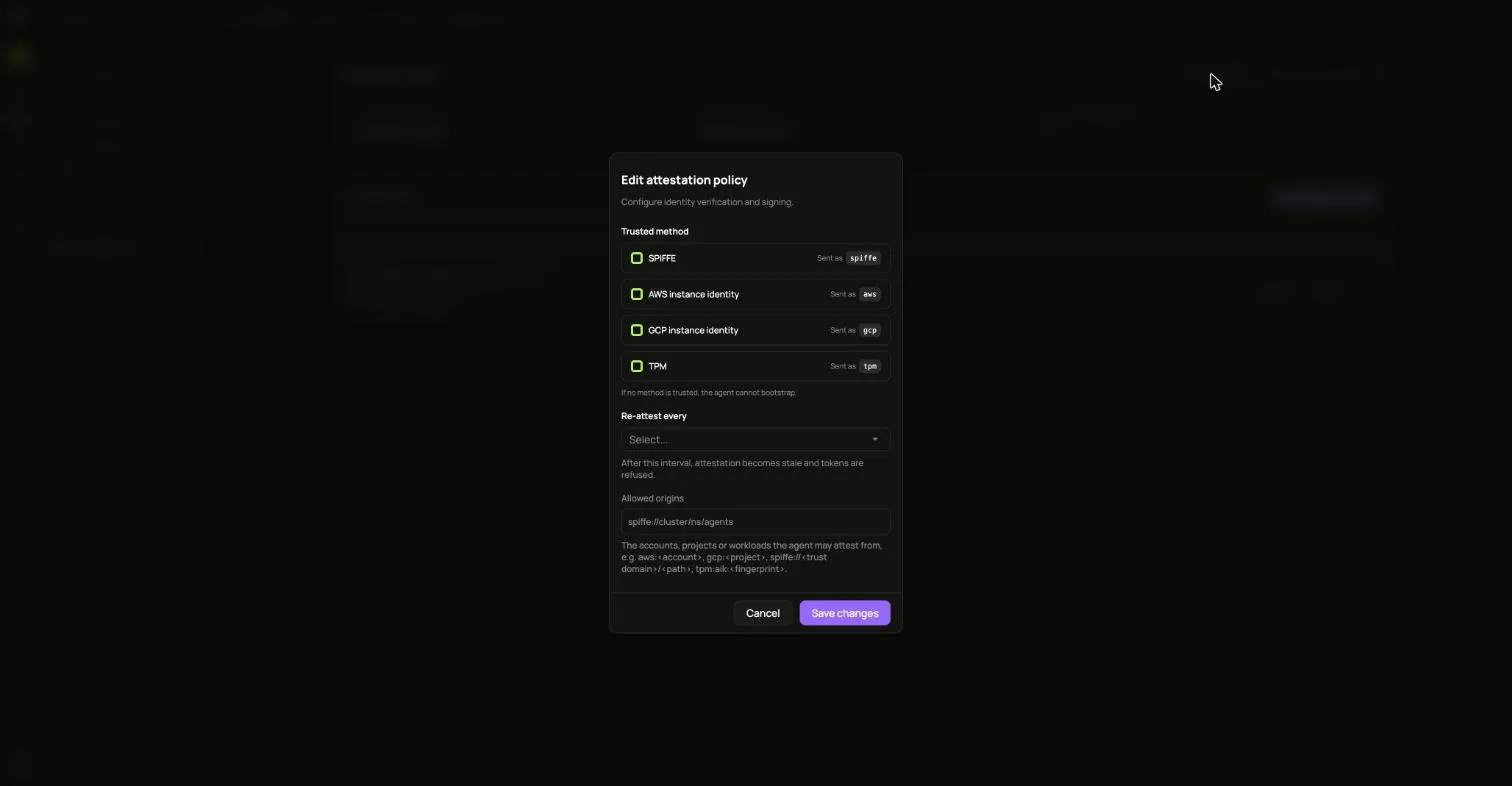
If no method is trusted, the agent cannot prove itself. Read Stop an agent before you choose Require re-attestation on such an agent.